5 Steps to Successful Waste Removal During a Renovation
Whether you’re gutting the basement or refinishing the floors, renovations are complex, and often stressful, projects. Aside from picking out materials and getting tradespeople in line, there are many other factors to consider -- including safe and efficient waste removal.
There’s no doubt that even the smallest renos can produce massive amounts of debris. From old appliances to bathroom tiles, all this waste has to go somewhere. So here are some tips to help you get rid of everything successfully.
Step 1: List your objectives
Before making arrangements to haul out your debris, it’s important to list your objectives first. Are you looking for a one-time junk removal service or a safe place to accumulate waste for the duration of your project? Because all renos work on different timelines, it’s important to identify your needs right from the beginning.
Step 2: Assess whether any materials can be donated
The next thing to consider is whether anything can be reused or donated. Even if you have no need for an old foyer mirror or extra ceramic tiles, chances are someone else could put these things to good use.
Habitat for Humanity, for example, operates stores across the country that resell goods to the public. All profits are then used by the charity to build homes for the needy. The organization will accept donations of furniture, building materials, appliances and housewares. Put these items aside during your renovation, so you can make a difference in your community.
Step 3: See if any materials can be recycled
Many home improvement materials can be recycled, which is obviously good for the environment. There are manufacturers that will even take back your unused goods. For example, some vinyl siding companies have return programs in place for excess product. They may not offer a full refund, but you can have peace of mind knowing the materials won’t end up in a landfill.
Step 4: Rent a dumpster
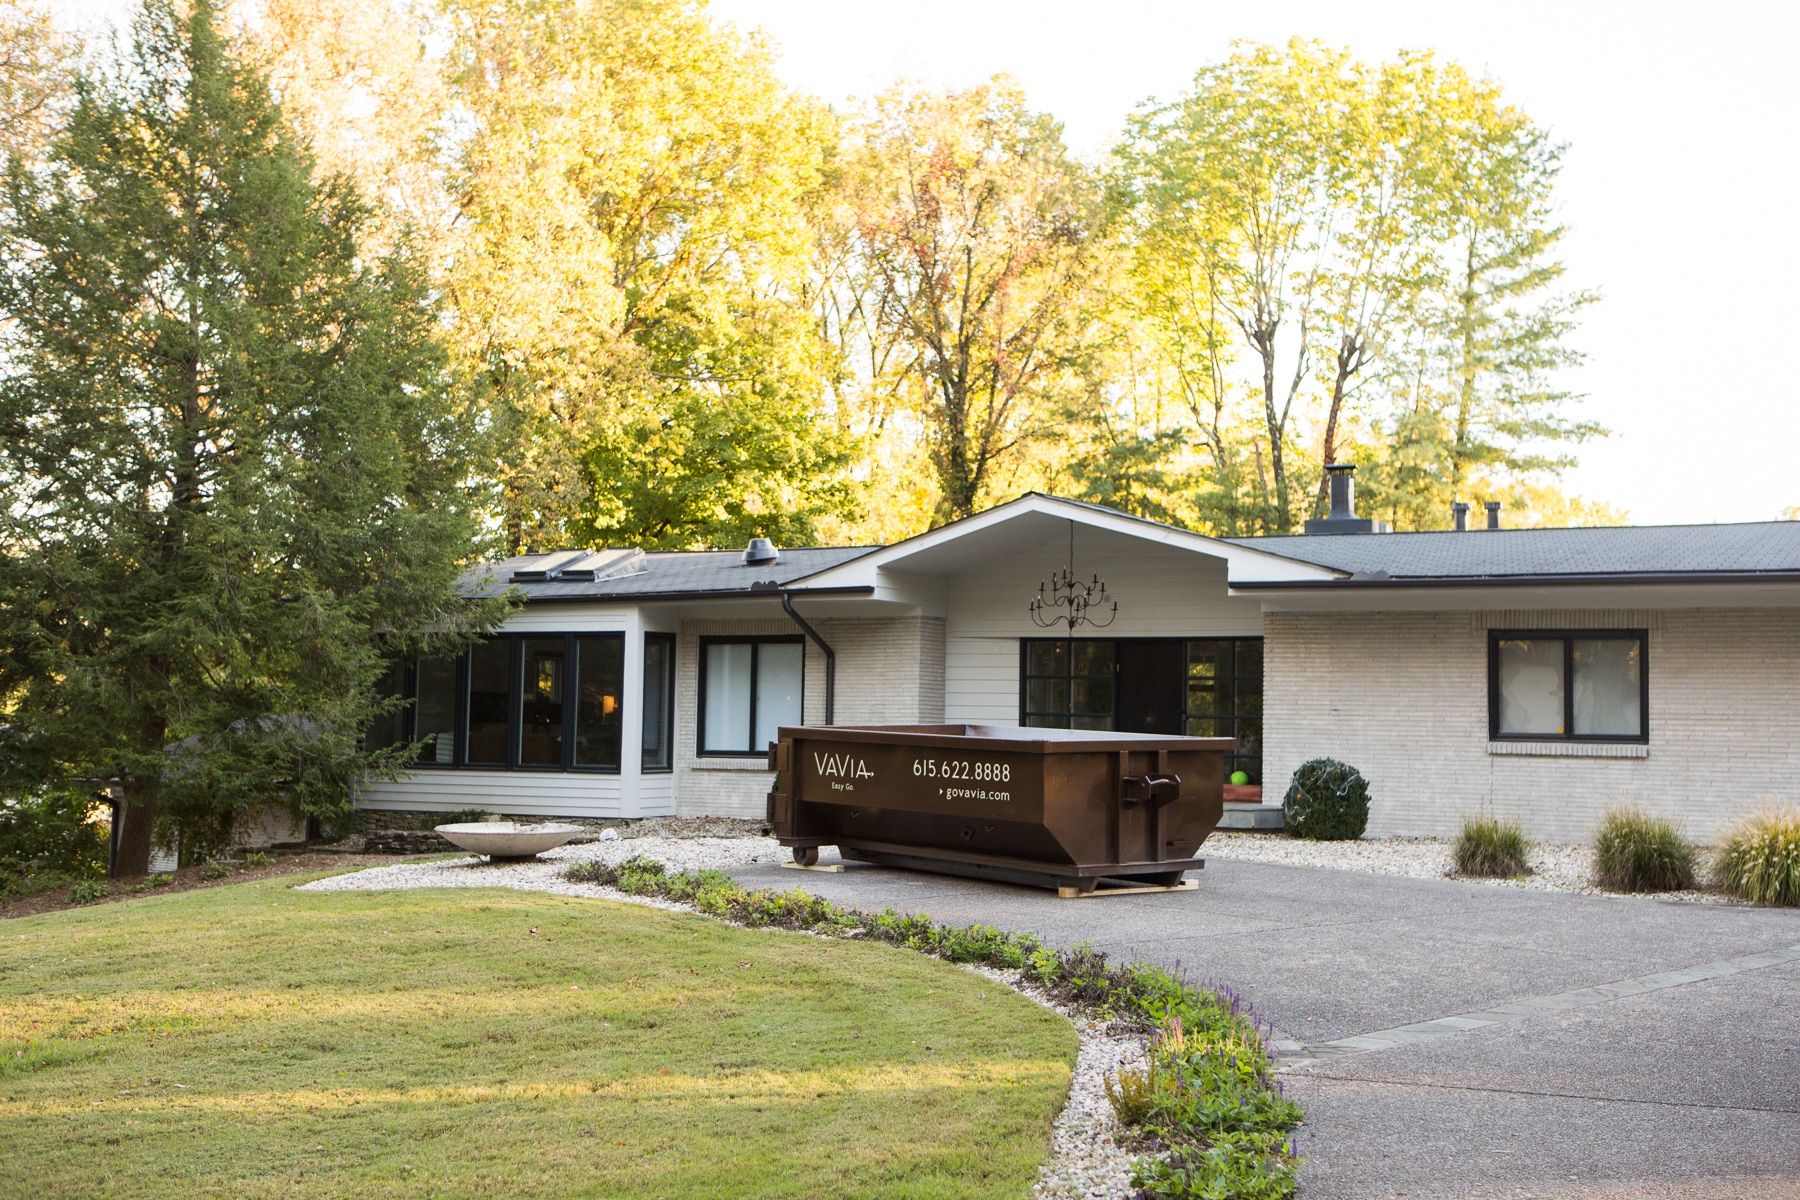
Many contractors would agree that a dumpster rental is the most efficient way to collect renovation waste. Drywall, insulation, and old piping can quickly add up. A container is the safest place to collect these materials until pick-up is arranged.
When speaking to bin rental companies, be sure to ask the following questions:
- What dumpster size do you recommend for my project?
- What loading methods does your dumpster accommodate?
- How will you protect my driveway from damage?
VaVia offers 10 and 15-yard containers, which are the perfect size for most renovation projects. Our dumpsters are small enough to fit in tight spaces without being an eyesore -- yet sturdy enough to handle whatever you throw their way.
Step 5: Schedule a pick-up
The final step in renovation waste disposal is arranging to have it hauled away. Your dumpster rental company will have a process in place to empty out your container. If your project is still ongoing, you can ask to keep the dumpster on-site.
VaVia offers affordable waste disposal solutions with flexibility you can count on. Our team makes it easy to schedule a pick-up of your debris. All you have to do is load up the container, then give us a call to have it taken away.
Whether you’re a professional contractor or local homeowner, a dumpster rental from VaVia can help you focus on the things that matter. Don’t let a pile of waste derail your next renovation. Rely on VaVia to help you stay on track and meet your project goals!
For more information on successful waste removal, call VaVia at 1-833-GO-VAVIA or contact us here.
CONTACT US
HELLO!
Looks like you may be in our extended service area!
Getting started is easy: just pick the nearest city in our locations menu and give us a call at the displayed number. We're ready to assist you!
